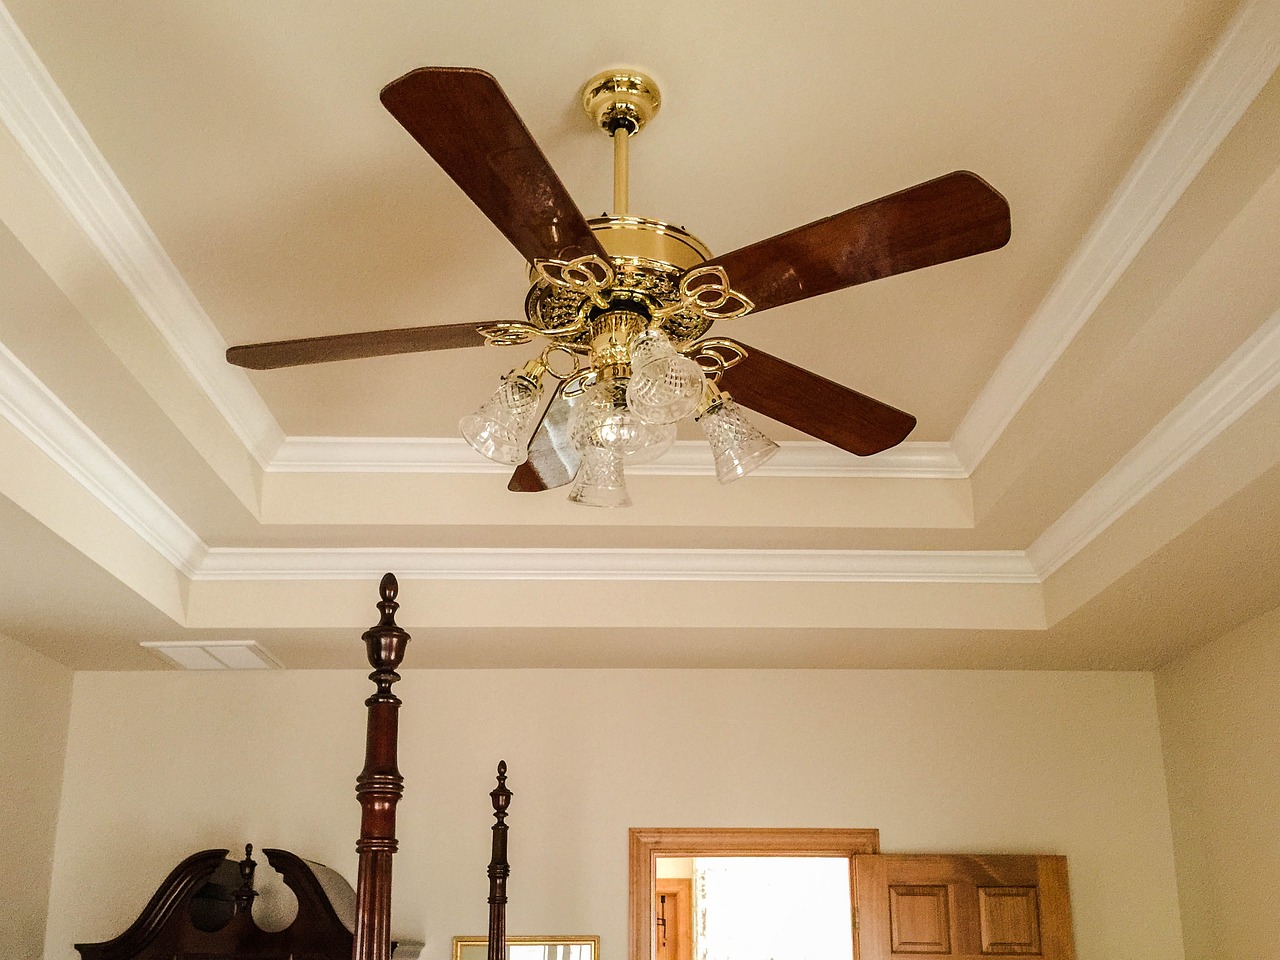
Adding Crown Molding
Are you tired of staring at your plain and boring walls and ceilings?
If so, it’s time to elevate your space with crown molding. Crown molding is a decorative trim that can add elegance and sophistication to any room. Although it may look intimidating, installing crown molding is quite simple.
❶ Measure and plan Before you purchase your crown molding, measure the perimeter of your room and decide where you want to place the molding. Be sure to consider the corners because these areas will require angled cuts. Then, calculate the total linear footage of crown molding needed for your project.
❷ Gather materials and tools The tools needed for this project include a chop saw, coping saw, nail gun, tape measure, caulk gun and a pencil. Materials include crown molding, adhesive and finishing nails.
❸ Make cuts and install Using a chop saw, cut the crown molding pieces to the correct length and degree angle. If you’re new to chop saws, it’s best to practice on a few extra pieces of molding before making any cuts for installation. Once all the pieces are cut, apply adhesive on the back side of the molding and press it into place firmly. Secure the molding into the wall with finishing nails using a nail gun. Remember to use a stud finder when nailing the molding to the walls.
❹ Cut angles for corners The most challenging part of installing crown molding is cutting the angled pieces to fit together seamlessly on the inside and outside corners. This is where the coping saw comes in handy. To make an inside corner cut, use the coping saw to cut the opposite shape from the molding profile. For outside corners, miter the corners at a 45-degree angle.
❺ Finishing touches To complete the installation, fill gaps or nail holes with caulk and paint or stain the crown molding as desired.

